

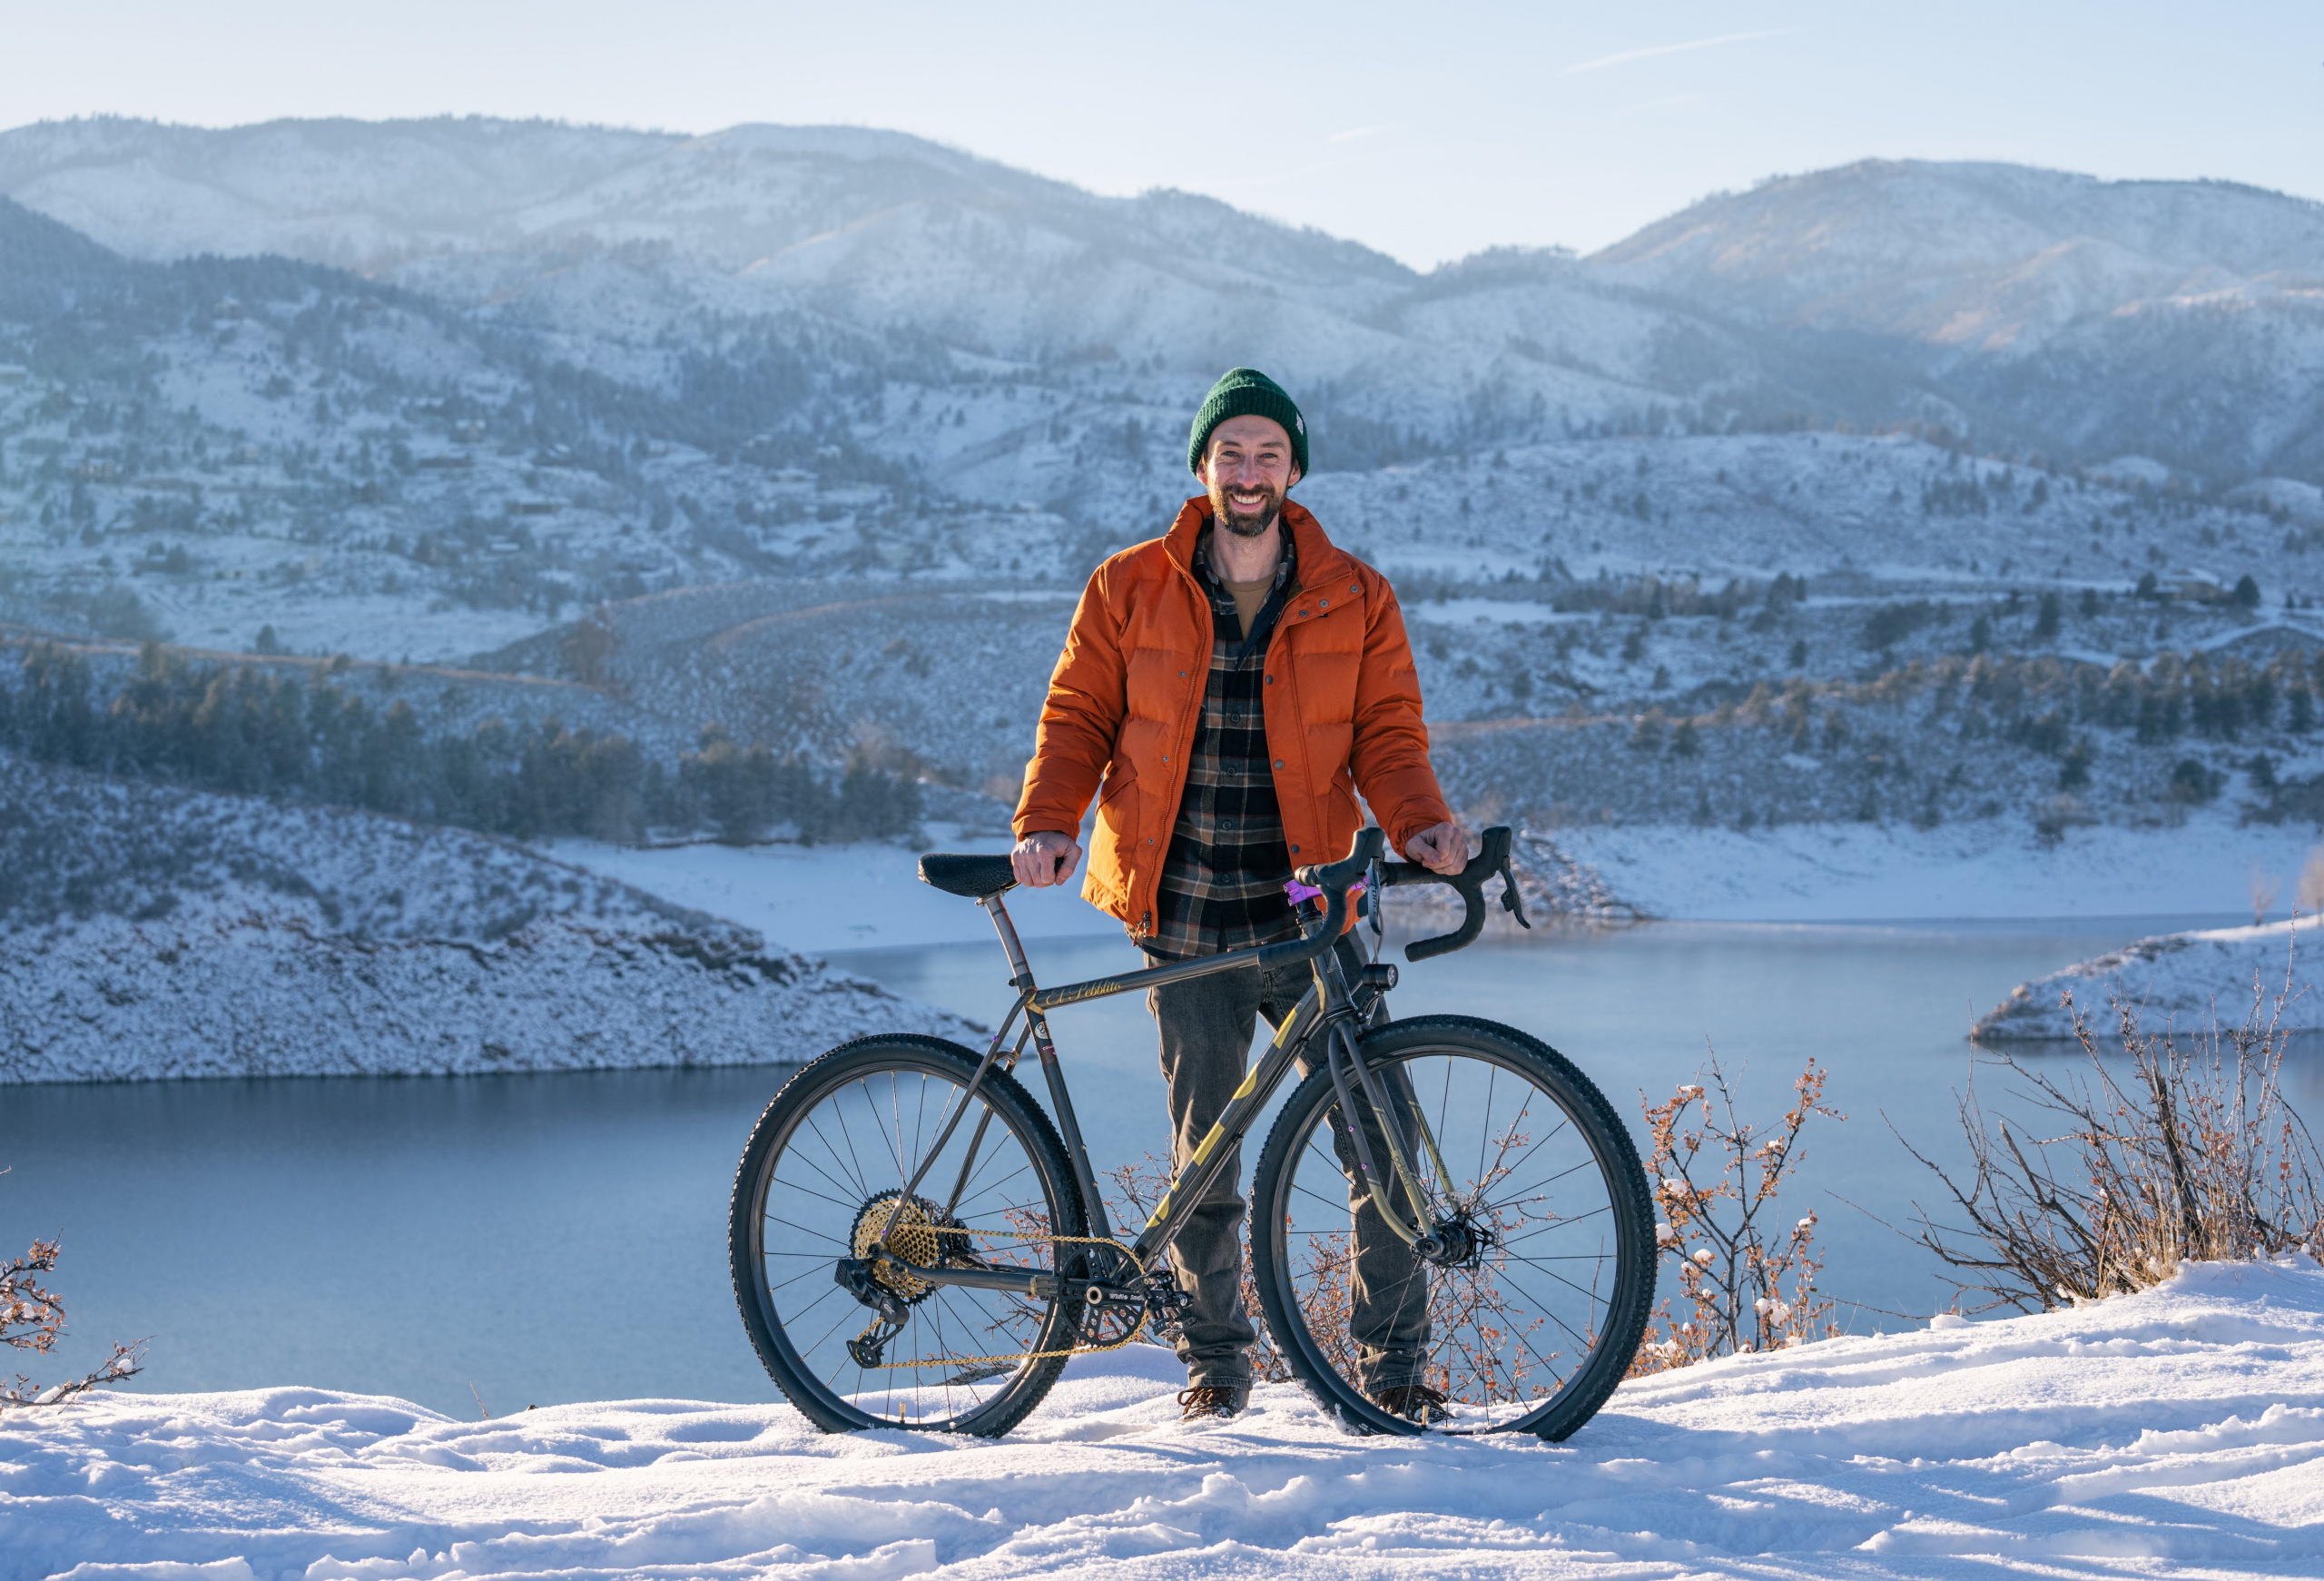


Brave New Wheel bike shop is a Fort Collins, CO staple and community hub that has been around since the 1980s. Co-owned by Johnny Daggett and Mike Woodard, the shop focuses on service and repair, wheel-building, and suspension work. Johnny recently finished building a Monē Bikes El Pebblito gravel rocketship with custom Squidfork from local builders Oddity Cycles. Continue reading below for Johnny’s full rundown with a chilly photoset from Aaron LaVanchy…

Building this bike has been a journey more so than any previous personal build for me. This was due to a few factors, not least of which was the supply chain issues plaguing the bike industry throughout the last couple years. It all started with my previous gravel bike, an All-City Nature Cross, being stolen a little over a year ago. As much as I loved that bike there were a few things I wanted to tweak when considering its replacement. I had come to use it for mixed terrain gravel rides—that sometimes included two-track forest roads and light singletrack—as well as some overnight and multi-day bikepacking trips. Clearance for bigger rubber, more mounting options for cargo, and a dyno light/charger setup were on the checklist for a new frame. But what was out there with those things while maintaining a sporty and fun drop bar geo?


A Front Range El Pebblito
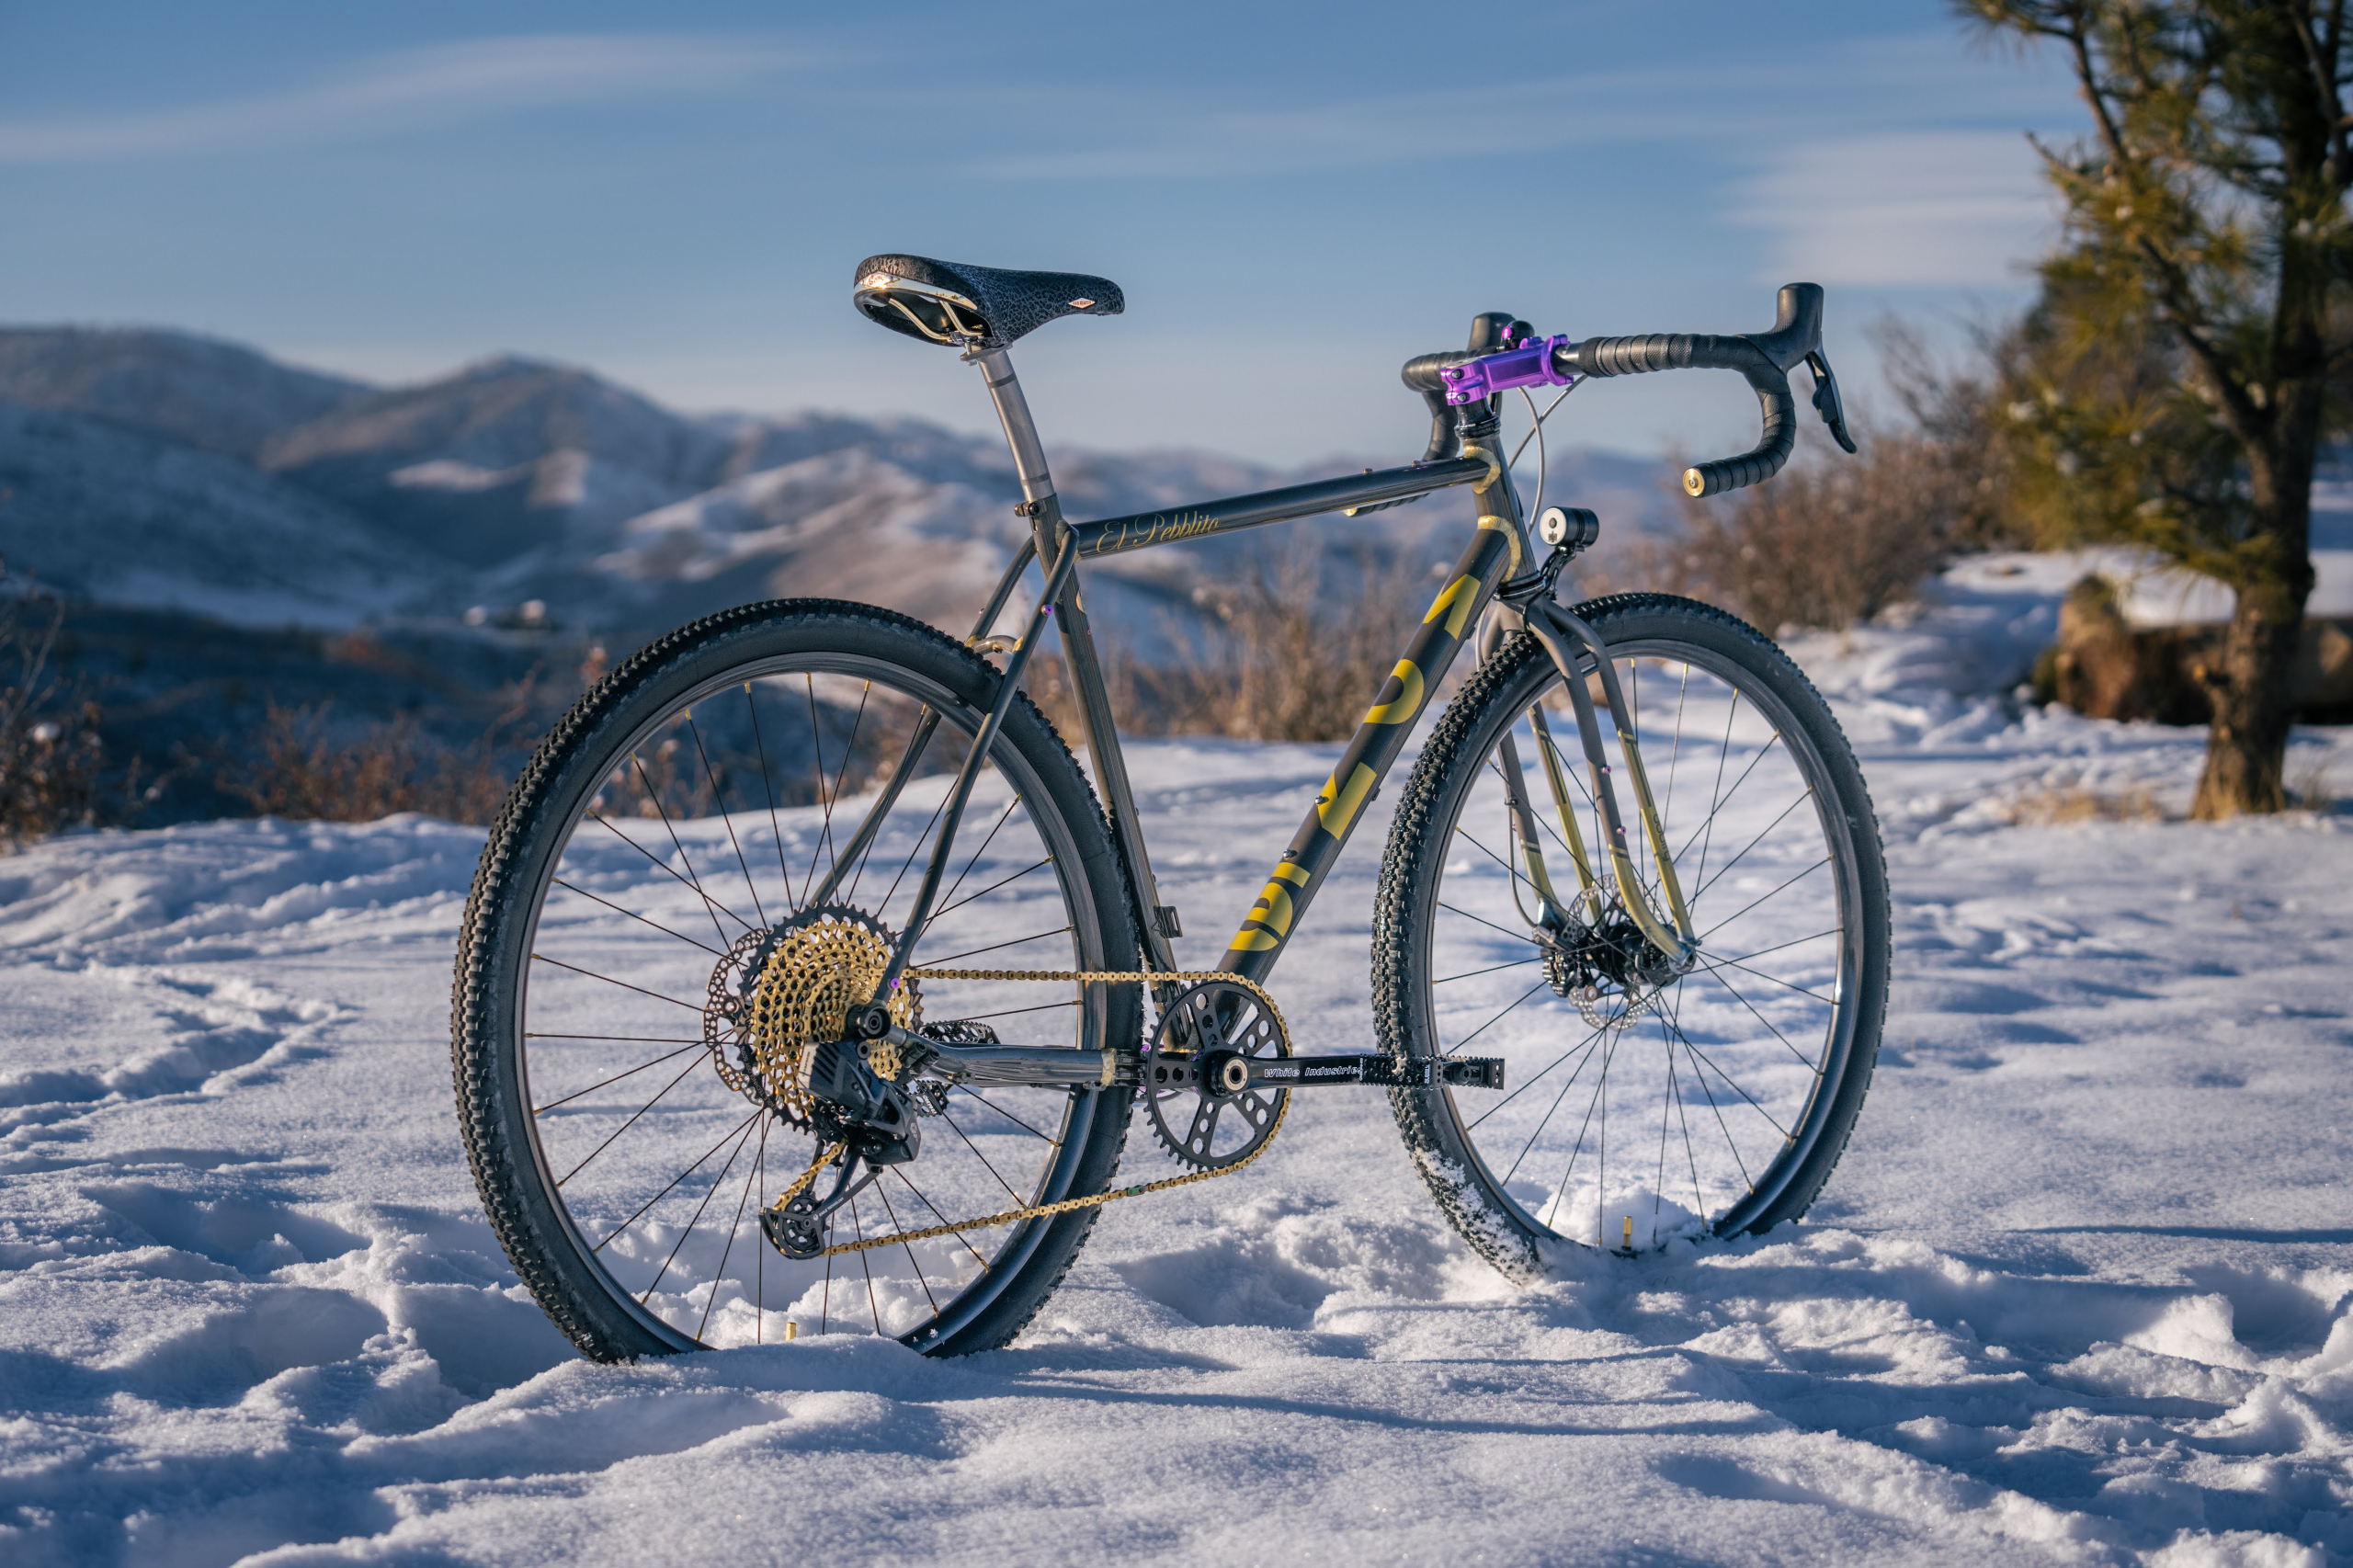
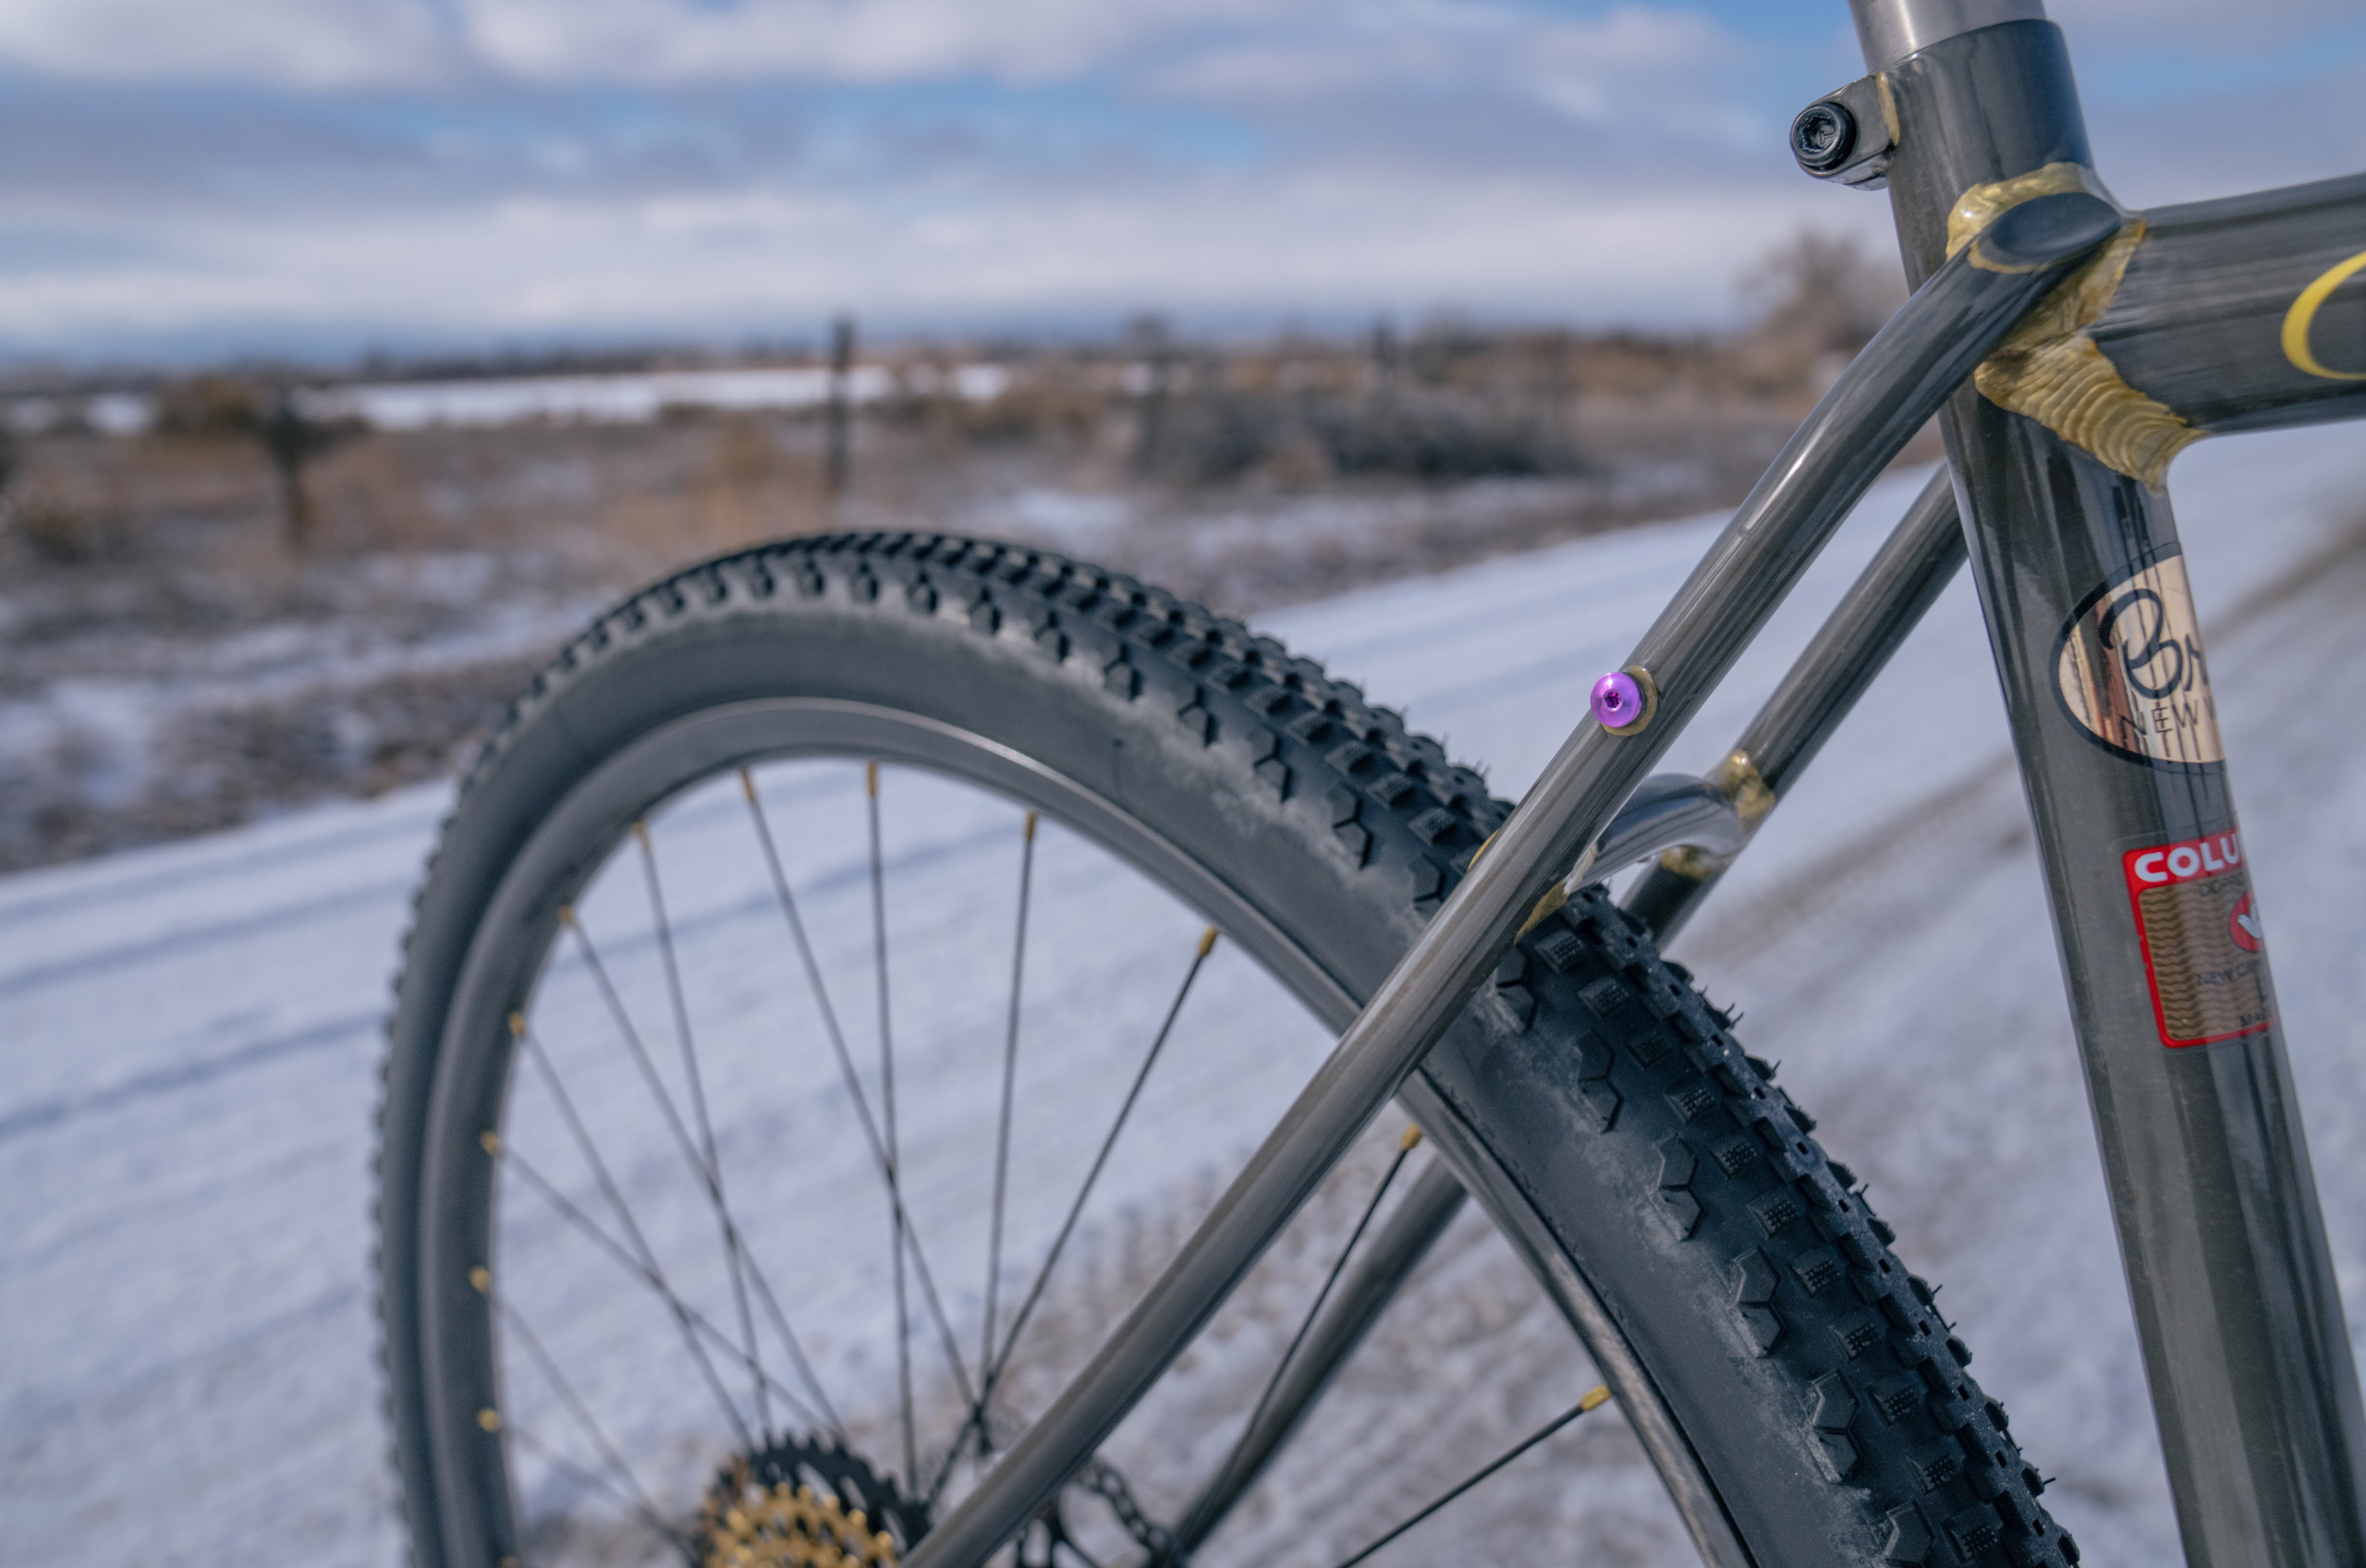
BOOM, enter Monē Bikes El Pebblito. Cjell drops this frame just weeks after my previous bike was stolen and it immediately got my mental gears turning. It promised everything I wanted: clearance for 29×2.1″ tires in a frame with similar geo to my previous bike and a Columbus tubeset to boot—swoon! I’ve always been a big fan of Cjell’s raw brass fillet style of building and versatile frame designs. El Pebblito is part of his line of frames made in Taiwan that achieve an extremely high quality at a non-custom price point. This certainly seemed like the perfect replacement, but it was winter and, with my first child due in February, a new bike wasn’t the first thing on my mind.

Spring rolls around and after ruminating on it for a while I finally pulled the trigger on an El Pebblito. Now comes the fun part: deciding how to build it up and actually getting those parts in hand. Parts availability had not gotten any better over the winter and was possibly the worst it had been with many parts on multiple-month backorder or without an ETA listed from our distributors. I was pretty set on running a slew of White Industries parts, having run them on other builds and being really happy with the quality. Although they were a few months out on production I figured I might as well put the order in and wait while I collected other bits and bobs. Internally, I debated both sides of the classic bike mechanic arguments that would determine the rest of the build: hydro/electronic vs. cables; field serviceability vs. performance, all while balancing these choices with what I could actually find.


A wider gear range and more powerful braking pushed me in the direction of a SRAM AXS mullet setup because, as much as I work on this stuff, I hadn’t actually run an electronic drivetrain on a personal bike. I ended up picking up some Force levers from a customer converting to a flat bar setup, which was pretty convenient since they didn’t seem to be available anywhere else at the time. As this set of levers didn’t come with brake calipers I threw a pair of Hope RX4’s on backorder. These are an aftermarket caliper Hope offers for hydraulic road levers, boosting braking power from the stock 2-piston setup to a beautiful, made-in-England 4-piston grabber.
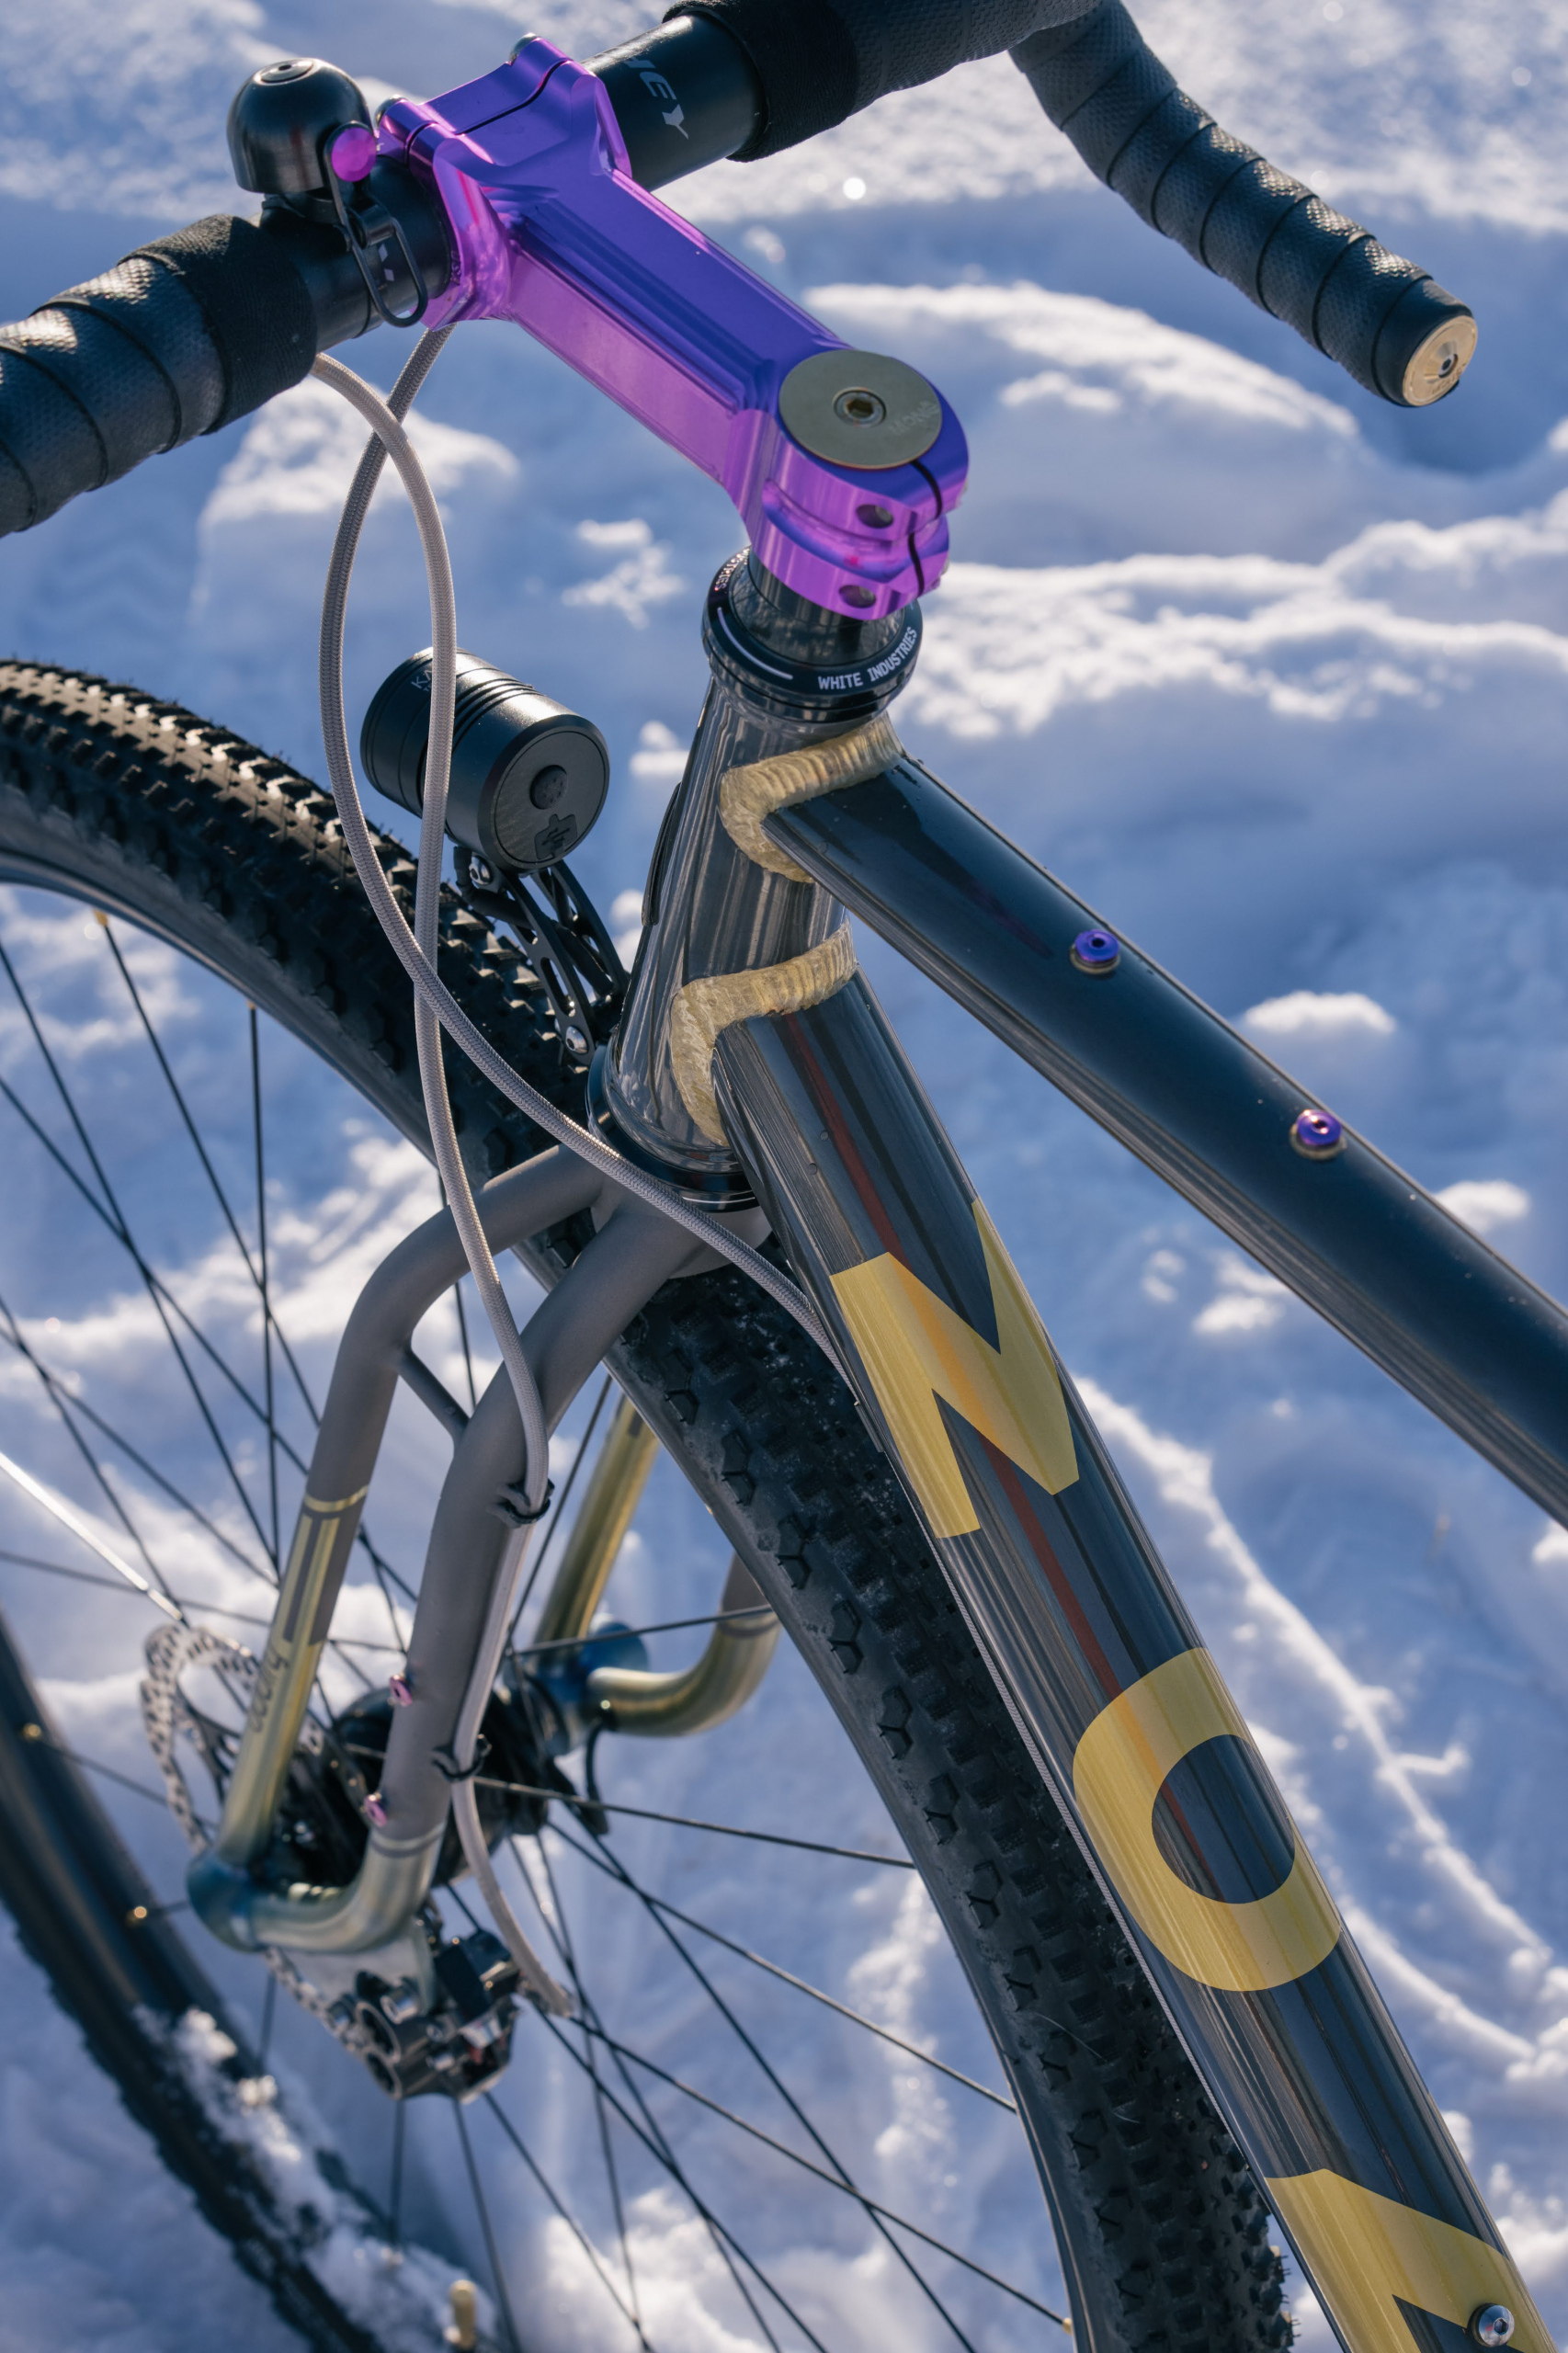
I picked up the various other drivetrain components as they became available and couldn’t resist a flashy gold cassette and chain combo. I still had the chunky purple Paul Boxcar stem that was originally on my All-City as I was demoing a one-piece Blacksheep bar/stem, almost the worst thing I lost when it was stolen (single tear). Some We Are One carbon hoops and a Son dynamo hub would round out the build. Oh, and of course, Cjell hooked it up with all the fine detail brass bits. By late summer I had most of the parts I would need which left me with the crux of the build: the fork.


For the fork on this build, I wanted something unique that would fulfill my specific requirements. Before becoming an owner of Brave I had spent one winter doing an internship with Sean Burns at Oddity Cycles. Sean is a Jedi of a frame builder and I was stoked to spend some time as his young padawan. I gained a wealth of knowledge about framebuilding and all of the processes that go into it. Much of what I did was tube prep (cleaning, bending and mitering) and finish work on handlebars, frames and forks that Sean was working on at the time. One of the products we worked on I found particularly cool was Sean’s titanium Squidfork. After helping him make a few and pining for one of my own I decided this was the way to make my bike extra special. I hollered at Sean to see if he’d let me come out of “retirement” and build a fork with him. He obliged and now I just had to find some time that fit both of our busy schedules.

Oh, and wait on a steerer tube that wasn’t in stock… sensing a theme? I was able to start the fork one evening when our normal night ride was canceled and I had finally received that coveted tapered titanium steerer tube. We picked out slightly smaller tubing than he usually uses on an mtb version since this would be used mostly on gravel. I cleaned, bent and mitered all the tubes with Sean’s expert guidance. His designs, being made of curvy tubes that don’t just go from point A to B, require a trained eye and a bit of what he calls “The Force” to get just right. It was awesome to get back in the Oddity workshop and remember the hard, time-consuming, and rewarding process that is bicycle fabrication. After a couple of sessions at the shop and Sean working it into his welding schedule, I had a complete fork. But was it done? Oh no, not in the least. Next up was the finish work.

Fancy Finishing
After welding is complete, a titanium frame or fork is basically a blank canvas for different finish options. Since titanium doesn’t rust or corrode it can be left raw and traditionally is finished with a more matte bead blast, or brighter brushed/polished finish. While it can be finished with paint this is considered—in some circles—a bit déclassé as it covers the raw finish thereby hiding the maker’s handiwork. Recently, anodizing has become more popular in the bike world and gives the option of a colored finish that still shows off the material underneath. This process uses an electric current to manipulate the oxide layer on the surface and express different colors. I’ve played around with some more basic titanium anodizing on small parts like bottle cages using a string of 9V batteries to achieve the desired voltage. Sean picked up an actual anodizing machine that allows you to set your voltage and get more precise color, so I knew I would be incorporating some “ano” in the finish. To get the best result you need a surface that has first been bead blasted to remove any weld color and create an even surface, then has been brushed and polished.


This isn’t necessarily a quick process, so after a few more hours of work I was ready to lay down some ano. This part is super fun because as the voltage is applied to the material it phases through all of the different colors lower on the voltage spectrum until you achieve the color you’re looking for. The spectrum more or less goes: light copper to brownish purple, then blurple to light blue, then champagne gold to rosé, then 3DV purple to teal and finally something I’d call greenish. I decided to try and hit a gold/brass color to match the accents on the frame and offset it with a darker matte bead blast. I hit that color around 50 volts and got the lower legs right about where I wanted them. I let it fade to a lighter blue at the dropouts for just a little more color. I then took the fork home and spent some evenings masking it off with tape and vinyl decals everywhere I wanted to keep the color. I gave it a bead blast everywhere else and finally had a finished fork! The final reveal when removing the masking felt like a triumph. You’re never quite sure what the final product will look like and things certainly changed along the way, but it ended up looking pretty sick if I do say so myself!

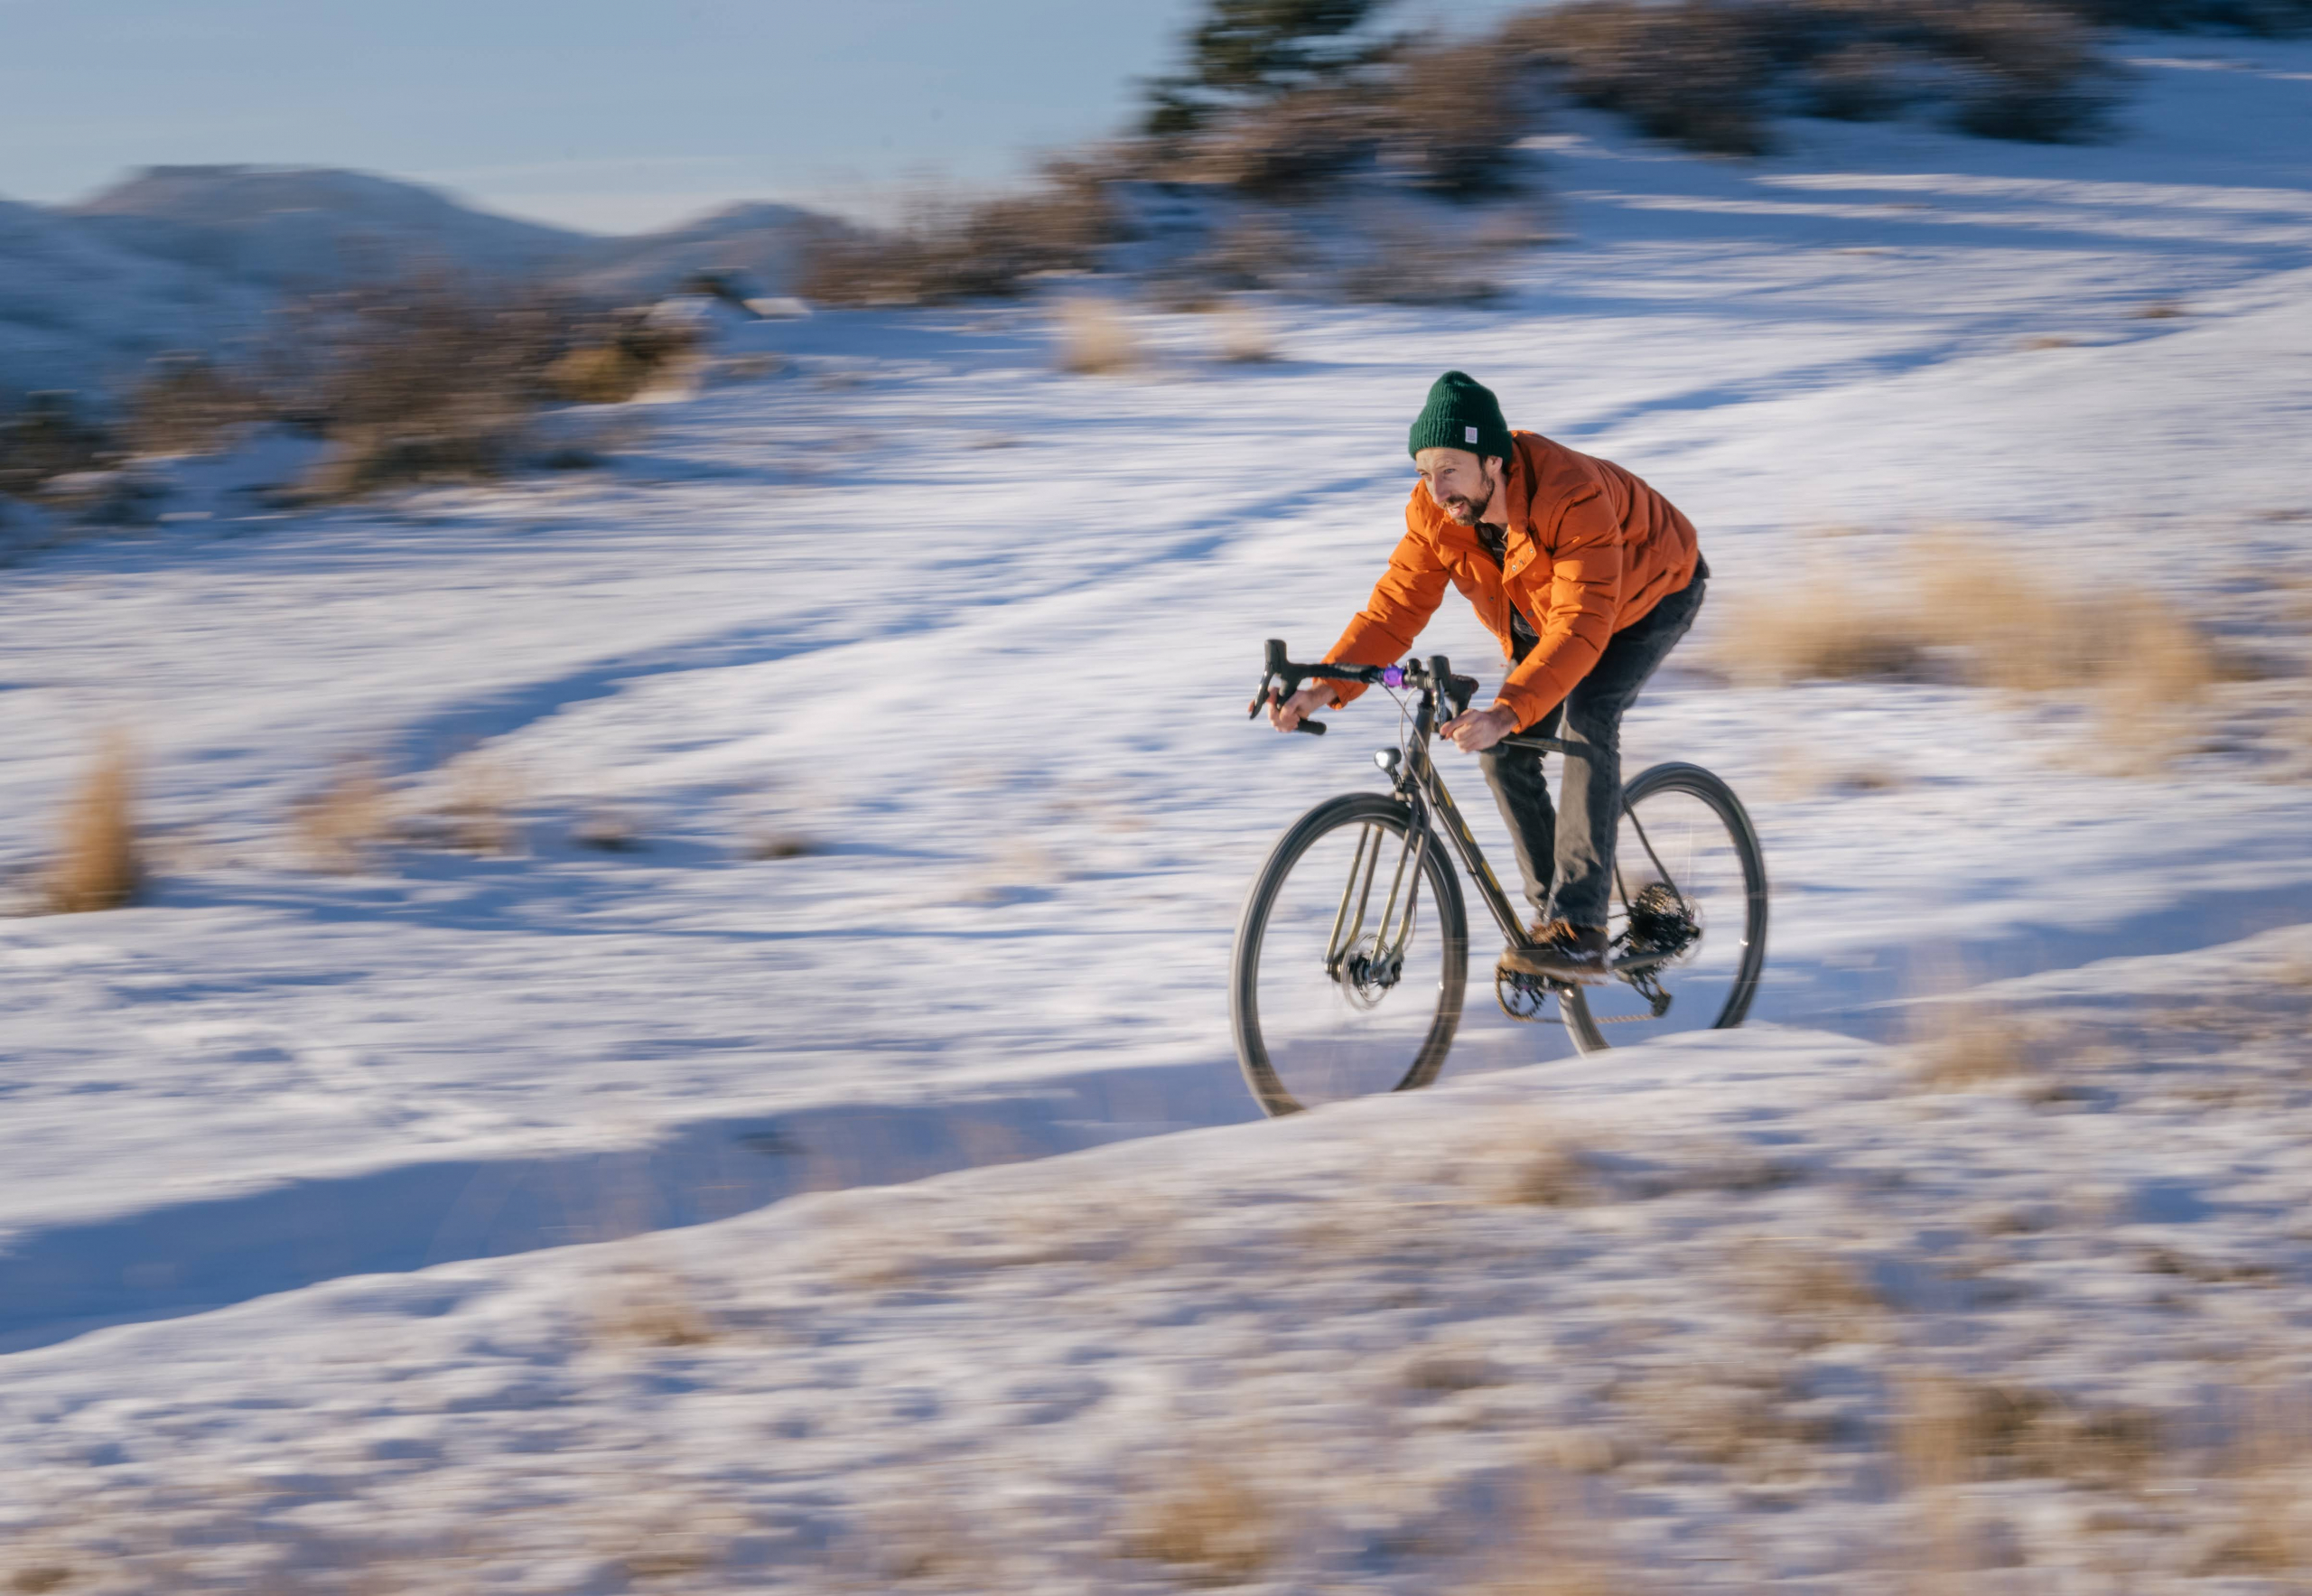
After so much waiting it was time to build it up and finish this saga. I slapped everything together just in time to take it on our annual ride to the border of Wyoming and back. Man does this bike slap! I am super happy with the handling, and the fork hits just the right balance of tracking well while also taking the edge off on washboards and chunkier sections. The fatty 50mm tires are perfect for ripping the 10+ miles of single track on the route. I found the ease of the electronic shifting/ hydro braking combo awesome for a chilly ride where numb hands were the norm. It really does seem to check all the boxes and more. I guess patience really is a virtue.
After getting a few more solid rides in I can faithfully say Cjell crushed it with the design on the El Pebblito. The pedaling platform is super responsive, I imagine due to the large downtube and chainstay yoke. Just start to put the power down and it’s raring to go! On rougher sections the shaped seatstays make for a comfy ride, absorbing some of the vibrations and allowing you to just pedal. It feels like a bike I can spend all day on and still be up for more. With the versatility and capability it brings to the table I will definitely be planning some multi-day adventures this summer. It’s a bike that just begs you to push its limits.
While I’m still a little sore about the theft of my previous bike, there is some retribution in that it gave me the impetus to put together this dream bike. I hope to ride the El Pebb for decades to come and who knows, maybe even pass it on to my son someday.


Build Specs
Frame Monē Bikes El Pebblito Large
Fork Custom Oddity Squidfork
Drivetrain Sram Force/GX AXS Mullet
Brakes Hope RX4 Calipers, Hope 160mm Rotors
Stem Paul Boxcar
Seatpost Blacksheep Titanium (Thx Corbin!)
Bars Ritchey WCS EvoMax
Bar Tape Brooks Cambium
Saddle Selle San Marco Rolls
Crankset White Industries
Pedals Sim Works Bubbly
Bottom Bracket White Industries
Headset White Industries
Hubs White Industries Rear, Son 28 Dynamo Front
Rims We Are One Revive Carbon
Tires Soma Cazadero