


Note: Please see our more updated post for a proper tutorial.

campagnolo nuovo record cm insertion panto
When I make a post about polishing some component, I get at least a dozen emails from readers asking me to post a tutorial. Since it’s easier to polish NOS or new components, I figured I’d take the harder route first; used components with wear and tear from use. Now while some people may have different methods, this has worked best for me. Keep in mind I don’t have access to a bench wheel with a polishing bit. This is all done by hand.
For those interested, other tutorials are available online for use with polishing wheels.
Before you get started, there are some thing’s you’ll need:

-Greased Lightning (recomended) but Drano or heavy-duty oven cleaner will work too.
–Bucket.
-Gloves, face mask and eye protection.
-Sand paper or Scotch Brite in the following grits (600, 900wet, 1200wet).
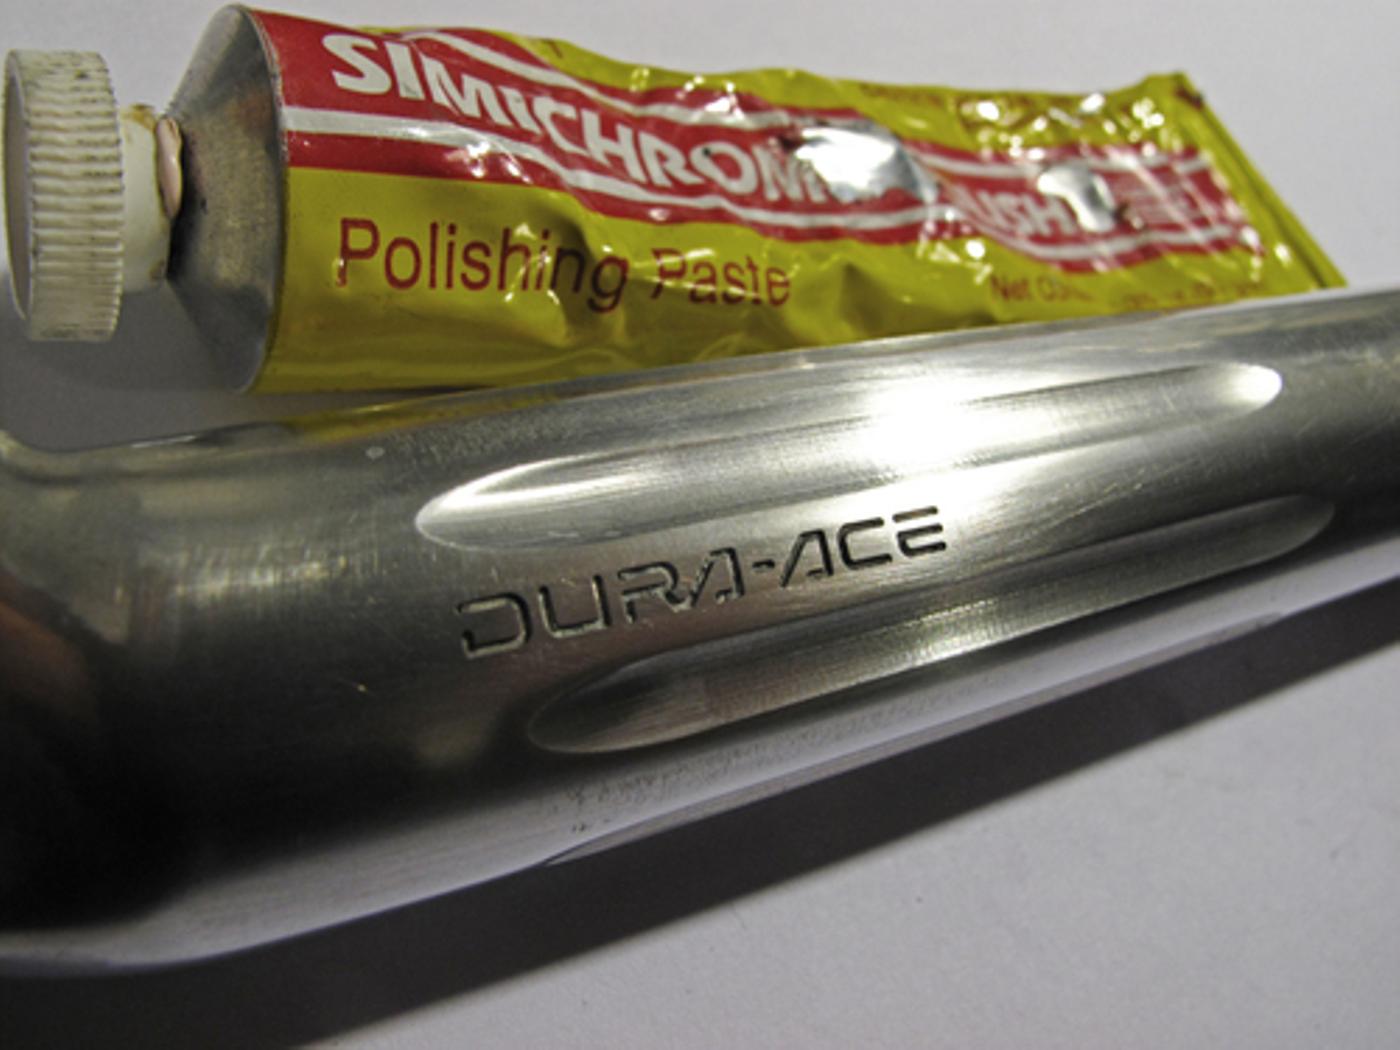
–Simichrome polishing compound.
-Cotton Balls.
-Masking tape (durable tape, not paper).
-Some aluminum bike components with scratches, pitting, etc (see below).

I picked up these two posts the other day. Both are rare in their own ways and show signs of heavy use. The Nuovo Record seatpost above has been heavily modified. The clamp head has been reshaped and the shaft of the post has been engraved with large flutes which were then painted with the arc-en-ciel colors. I’ve never seen anything like this before. As you can see, it’s in pretty poor shape.

Next up is a Dura-Ace fluted post. It’s in pretty good condition, especially when compared to the Nuovo Record post.
The first thing to do is disassemble the parts. Take everything that can come off, off and set it aside. Next is the only dangerous part of polishing. Most parts have anodizing. In fact, just about any modern component has anodizing. Anodizing doesn’t solely apply to those brightly-colored Sugino 75s, it’s also kind of a matte to semigloss coating on aluminum. You need to take that off. There are two ways to do so; chemically or with sand paper. Let’s start with chemically, since it’s the easiest and I don’t recommend sandpaper for removing anodizing unless you’re doing serious work to the surface.
Take the Greased Lighting, or Drano / oven cleaner outside in a well-ventilated area along with a bucket filled with water. Put on the face mask, eye protection and gloves. Greased Lightning is less-hazardous but will still kick up nasty fumes. Drano and oven cleaner contain lye. That shit’s toxic as hell. If you get it in your eye or your skin, you’re in trouble.
If you choose to endanger yourself with a lye-based product. BE VERY CAREFUL.
Spray the components down. Immediately, you’ll see it foam up. That’s the lye eating the anodizing. Lye will also eat through aluminum, so don’t let it stay on for any longer than 2 minutes at most. Greased Lightning won’t eat aluminum, so you’ll need to soak the parts in it for 2 hours.Once it’s done, wash it off and dry off the components. It’s time to prep your parts.
Seatposts have minimum insertion lines. Wrap from that line down with the tape. You’ll want to leave that area as-is so the seat clamp has something to grip on. I’ve polished that before and had it slip. Pain in the ass. Same goes for stems too. Also be sure to tape off any pantography or etching. This is crucial. You’ll ruin the post if you don’t.
Now’s the time to sand any pitting or insertion marks off the post or stem. Start with 600 grit or 600 grit Scotch Brite pads and carefully rub any areas where the scratches are deep. Once you’re done skimming the surface, move on to a full-on wet sand with the 900 and 1200 grit. Wet the sand paper and sand it smooth. You’ll want to be vigorous and even or it’ll show.
Once it’s done, it should look matte like the photo above. Don’t mind the thin scratches in that pic. I stopped at 500wet sand for this post.

Take the cotton ball and very very small amount of Simichrome. Like a pea size. Begin to rub it on the post, in little circles. Continue to do this for 20-30 minutes. You’ll immediately see a shiny surface poking through. Re-apply as needed and feel free to swap cotton balls too. Once you’re “done” take a clean cotton ball and wipe it down.

These two pics above were taken after about 20 minutes of polishing. The pictures below are the final product.

The Dura Ace engraving was protected from being taped off.

Stark contrast between the polished top and the unpolished are below the insertion line.

I think the Dura-Ace post is done. Maybe I’ll put another 30 minutes into it.

Nuovo Record post in focus. You can still see some hairline scratches here. There’s probably another 30 minutes worth of polishing to do to it.
For comparison, the picture are the very top of this tutorial is this seatpost post. It took me a good hour or so to get it shined up to a mirror-like finish. No matter how poor-off your stem or post is, a little bit of work can make it look a lot better.
Now, if you have a NOS or new stem, you can remove the anodizing and polish it with Simichrome. I’ve gotten NOS stems to a mirror-like finish in 30 minutes. From here on out, all it’ll take is 5 minutes of buffing the polished parts with a soft cloth to restore their finish. Not bad.
Hope this helped. Feel free to comment on your experiences, post your before and after pics and offer constructive criticism on my procedure. For shits and giggles, maybe I’ll post a video of me polishing a NOS Cinelli 1a stem.


